Go to the Front End Manager tab → Agency Editor subtab.
Scroll to the Branding section.
Click the Upload button, located below the Agency Logo.
Select the logo from your files.
Click the Update button at the bottom of the page to save your logo.
📝 Notes:
Pictures can be no larger than 1000 x 1000 pixels.
Only image files (.jpg, .jpeg, .png) are permitted.
💡 Tips:
Use an Online Image Size Finder to see your picture's pixel size.
Medium-sized images are best for your logo. Large images take up too much header space, and small images may be hard to read.
We recommend a PNG file for the logo image.
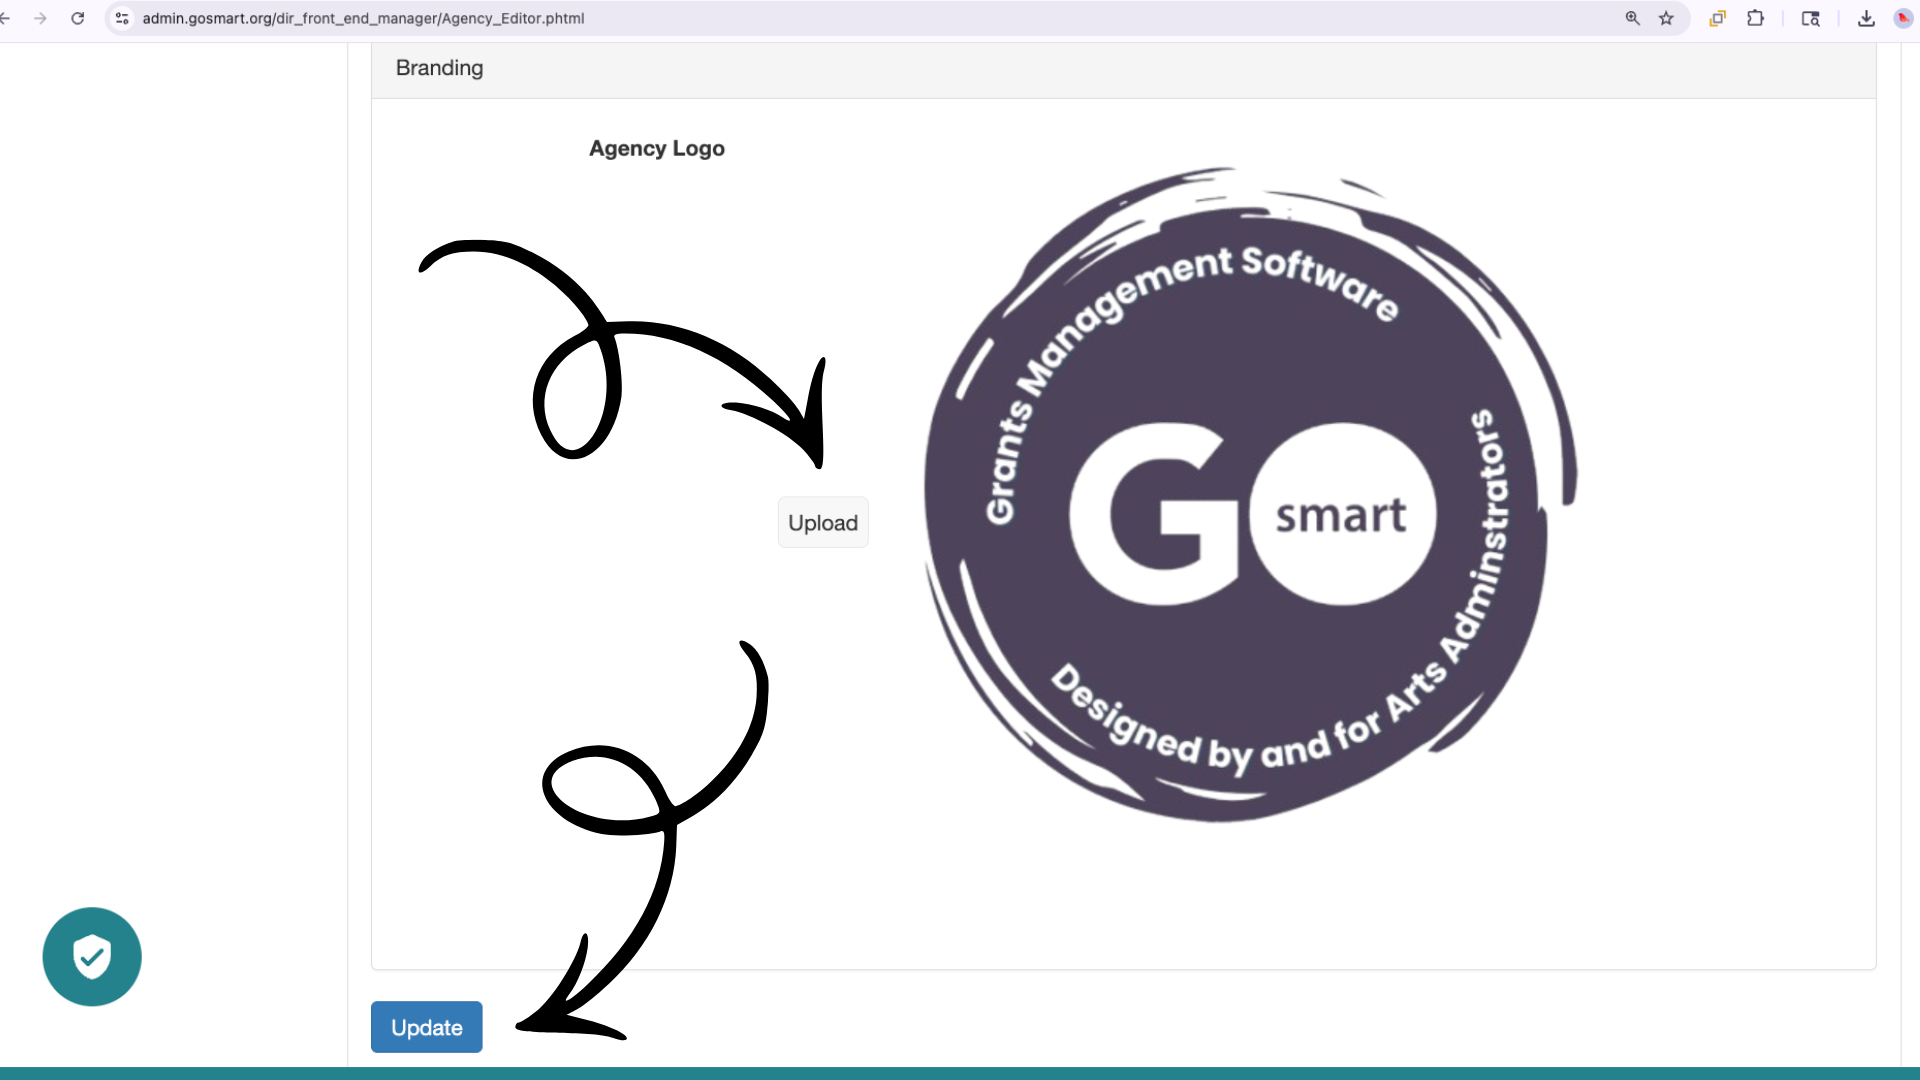
📸 Screenshot of the Agency Editor with two arrows pointing to the Upload and Update buttons.
♿ Accessibility & Contrast
While not required for the upload to work, the GO Smart team strongly recommends that your logo meets the current Web Content Accessibility Guidelines (WCAG).
💡 Tip: Use an Online Contrast Checker to ensure your logo is easy to see against your portal's background color.