🖼️ Option 1: Using the Media Library Module (The "Portfolio" Approach)
This option treats each applicant's uploads as a central, reusable media portfolio.
Admin Setup Steps:
Set the Rules: Go to Front End Manager and to the Media Library Module to choose which file types are allowed and how much space users have.
Add the Page: Go to Grant Editor and choose Cycle Pages. Add a Media Library Page.
Finish Setup: Edit the page to choose the specific settings and instructions for your applicants.
📝 Notes:
How it Works: You set up the library settings first, then add a Media Library Selection page to your form. This lets applicants pick files they have already uploaded.
Applicant Experience: This is a two-step process. First, they upload files to their library. Second, they select those files to add to their application.
Reviewer Experience: Panelists and reviewers will see small "thumbnail" images of the files. They can click these to open a Support Materials viewer, where they can view all uploaded files, including videos and audio, directly in the pop-up window.
Best For: When you need many different file types, or when applicants need to use the same files for multiple grants.
👉 Read the Media Library Module tutorial for detailed steps.
👉 Read the Create a Media Library Selection page tutorial for detailed steps.
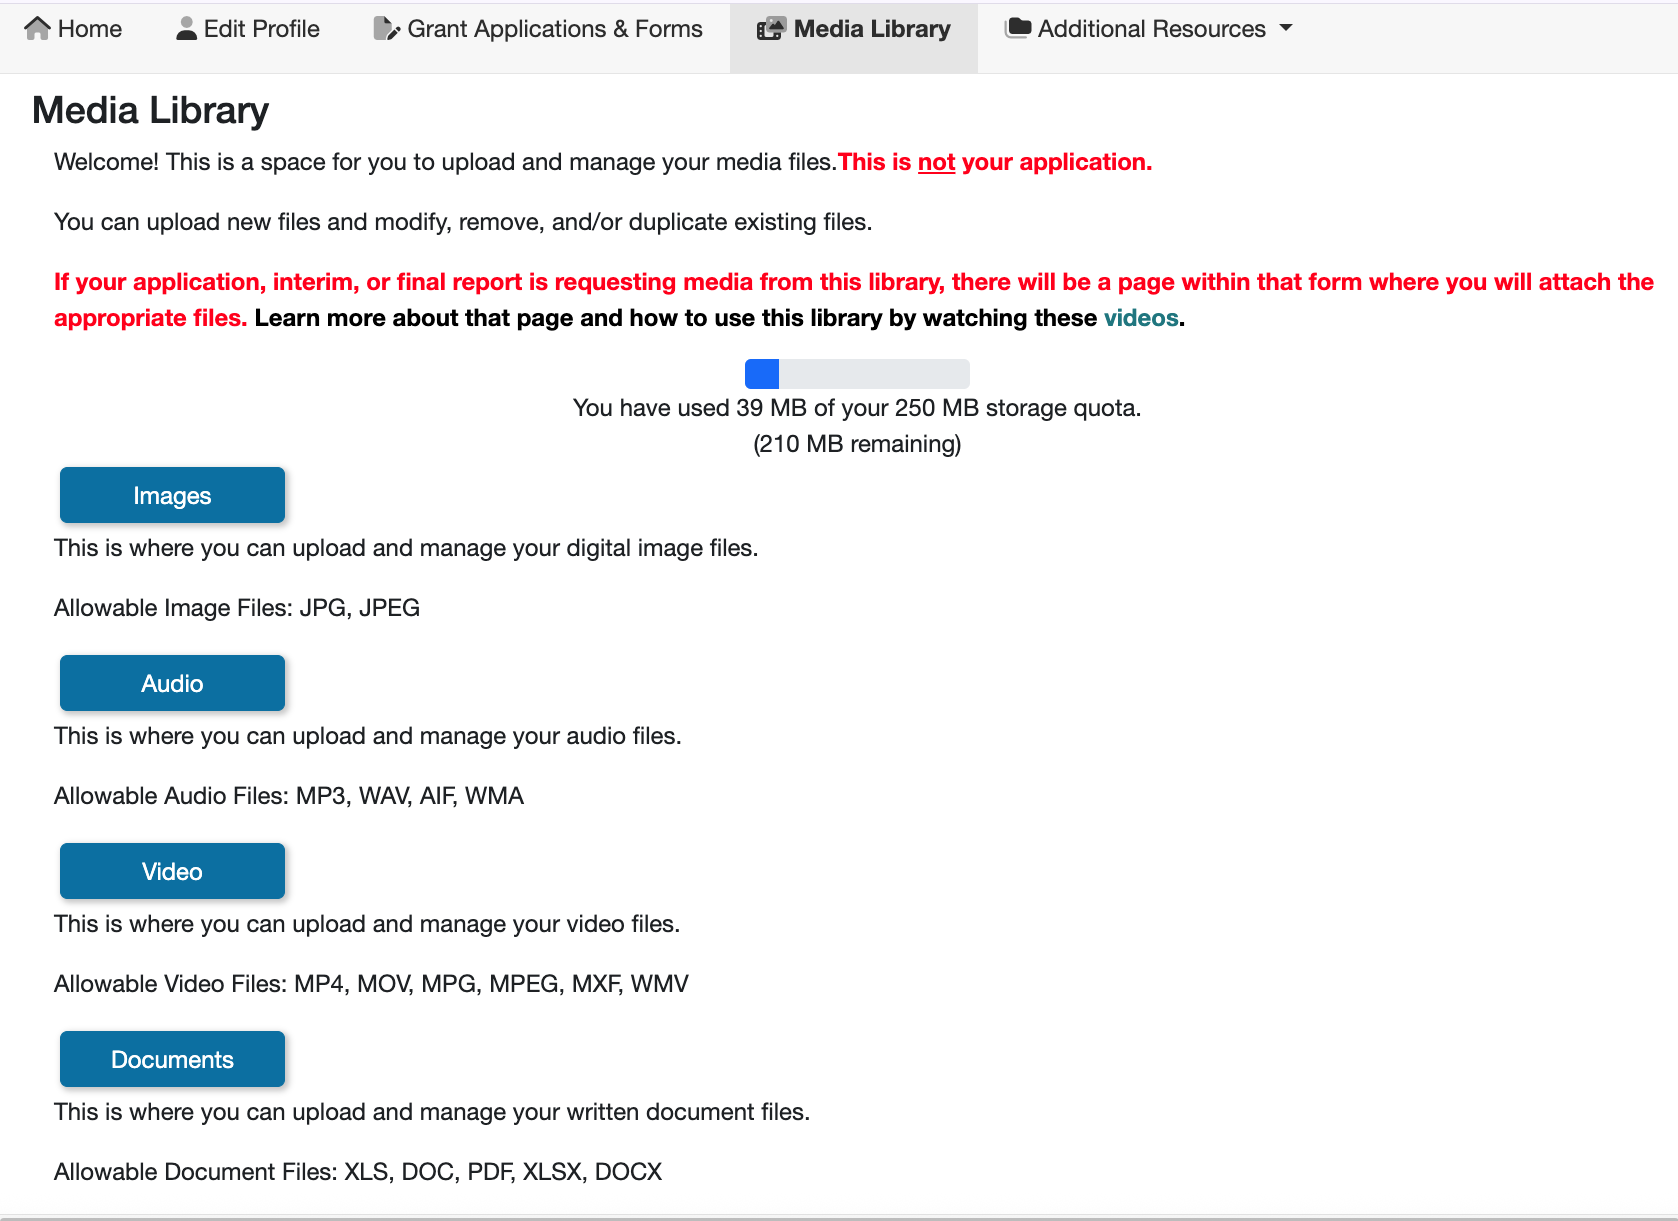
📸 Image displaying the applicant side of the Media Library.
⬆️ Option 2: Custom Narrative Pages (The "Direct Upload/Link" Approach)
This method lets applicants upload files or paste links directly into a form without using a media library.
Admin Setup Steps:
Add Fields: Go to the Grant Editor tab and choose Cycle Pages subtab. On a Custom Narrative page, add a File Upload question for docs/images or a Text Field question for video/audio links.
Label the Fields: Give each question clear instructions, like “Upload your resume” or “Link to your video.”
📝 Notes:
How it Works: Use File Upload fields for images or documents. Use "Text Fields" for links to sites like YouTube. Remind applicants to include "https://" so the links work.
Applicant Experience: This is a one-step process. They upload files or paste links directly into the form.
Panelist Experience: Files appear as links. When clicked, they will open in the browser or download to the reviewer's computer.
Limitations: The Upload File question only supports PDF, Word, Excel, and JPG/PNG files. Documents must be under 10MB, and images must be under 1000 x 1000 px.
Best For: Simple, one-time submissions or when applicants are just sharing links to videos hosted on other sites.
🎥 11-second video showing the process of uploading a file with the upload file button inside an application.
❓Choosing the Right Option:
Use the Media Library if you need:
Applicants to reuse files over time.
To host video and audio files directly in the system.
Reviewers to see image "thumbnails" instead of just links.
Use Direct Uploads/Links if you need:
A quick setup.
Only simple images or documents.
Applicants to paste links to videos hosted elsewhere.
✨ Quick Decision Tip
If your applicants need a "hub" for high-quality images, video, or audio, choose the Media Library. For a simple, one-time upload or link, Direct Uploads/Links are usually best.